From surface refinement to threaded inserts, here are the key post-processing methods every engineer should understand
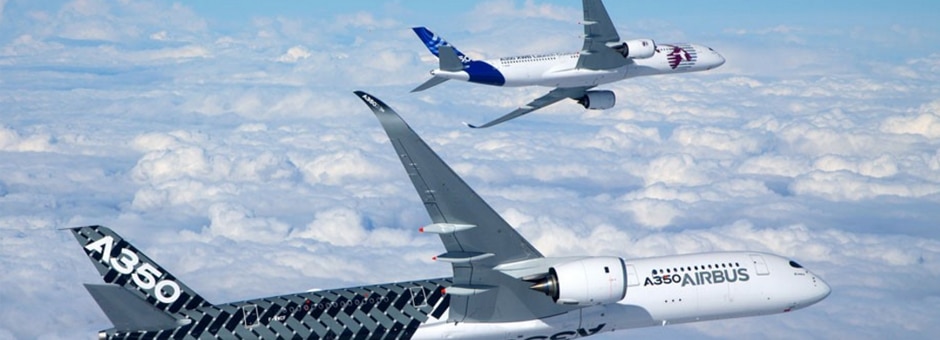
For design engineers who haven’t worked with 3D printed parts, post-processing may be an afterthought. They’re focused on creating high-quality, functional parts that meet all their project’s critical specifications. But additive manufacturing is not like other manufacturing methods. 3D printed parts usually require post-processing to eliminate surface porosity, enhance their mechanical properties or make them more visually appealing.
Post-processing refers to all secondary operations to make the additive part functional, accurate, durable or visually acceptable for its intended use. They transform the printed shape into a usable part.
Four of the most common post-processing options are media blasting, vapor smoothing, insert threading and painting/coating.
Media Blasting
With media blasting, a stream of tiny particles – often plastic beads or sand – is blown at the part’s surface using a hand-held tool. Sand blasting is one example of this process. Media blasting is a fast, repeatable way to clean, smooth and prepare printed plastic parts.
Specifications drive media blasting decisions. The size of the grains, the air pressure and the duration of the blasting are based on the final requirements and the strength of the material used to build the parts.
Why is media blasting used?
- To remove rough spots or visible layer lines from 3D-printed parts so they look and feel more uniform. This is especially important for customer-facing parts.
- To clean parts and remove trapped powder from lattice structures and detailed part features.
- To create a slightly textured surface to support painting and bonding.
Media blasting is relatively uniform. It’s also gentle compared to sanding, minimizing the risk of rounding edges or altering tolerances.
A few caveats: Media blasting is not always the best fit for parts with tricky geometries. The medium must reach all its curves and cavities, which can be challenging or impossible with certain shapes, such as internal cavities. Sometimes the sand or beads can reach the space but become stuck when they get there.
Also, extremely hard materials, such as carbon-filled nylons, are not as responsive to blasting. And the process utilizes a tool, operated by a worker, which can create slight variations between parts.
Vapor smoothing
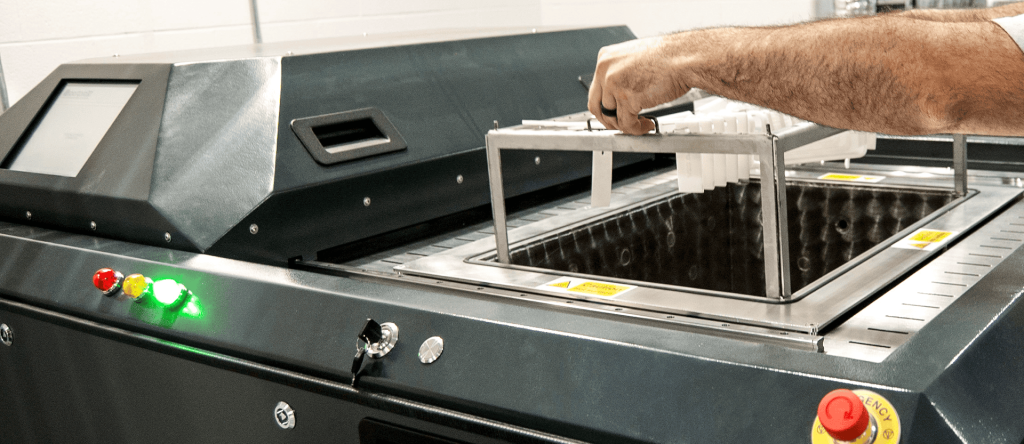
This process uses a special chemical vapor (a controlled “mist”) to slightly melt the outer surface of a 3D-printed part. As the surface softens, it naturally levels and becomes smooth. This replaces hours of hand-sanding and gives the part a more professional, injection-molded look.
The vapor smoothing process is automated. Parts are hung in a tank along with a solvent that generates the vapor. The curing time is known before the smoothing starts (customers often provide detailed recipes that define the makeup of the solvent and the “baking” time).
Vapor smoothing is the ultimate tool for consistency. It reaches every bit of the part equally and is especially helpful with complex geometries that media blasting can’t reach.
The process can’t be used with parts that hold corrosives, as these products are designed to be resistant to chemicals.
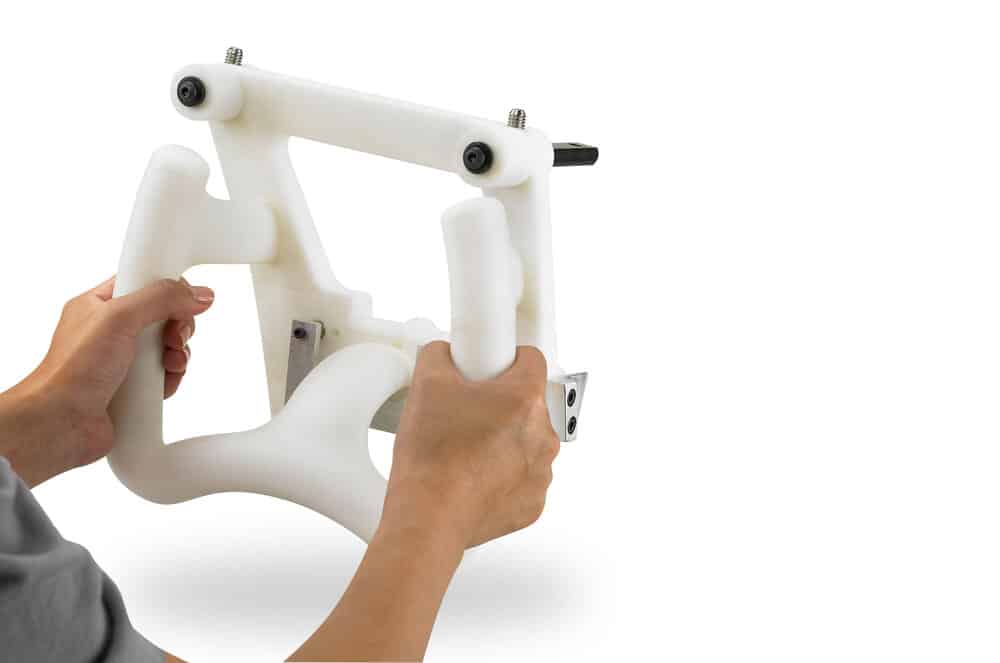
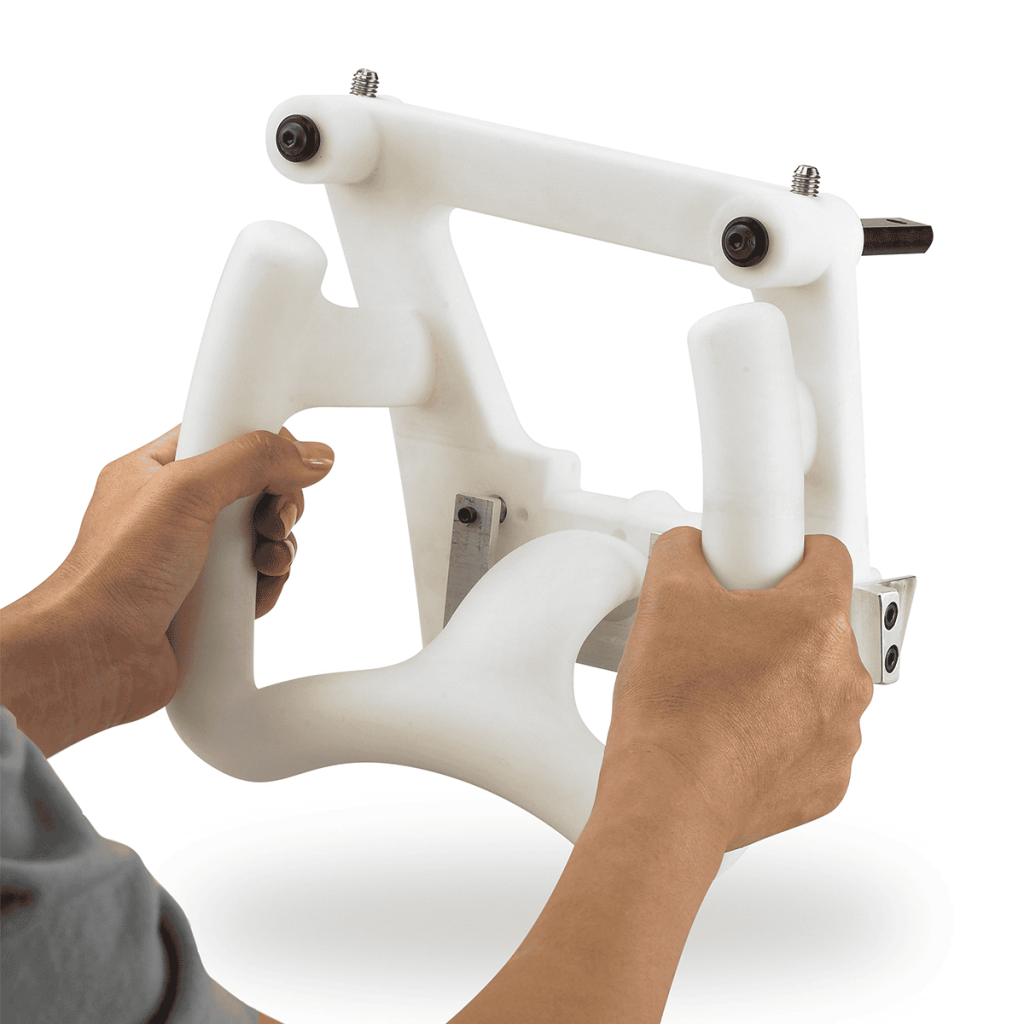
Insert threading

This creates durable, reusable threads in a part that enable it to be assembled with other components. It works by embedding a metal insert into a pre-formed hole. The insert provides threads for screws or bolts, instead of relying on the part’s base material to hold assembled parts together.
Three common methods are heat-staked inserts, cold inserts and self-tapping screws.
Heat-Staked (or Heat-Set) Inserts // This is the most common method for placing inserts into a part. A small metal insert is heated and pressed into the plastic. The plastic melts around it, then cools and rehardens. The insert is now embedded, which provides a great deal of strength.
Heat-staked threads are strong. They may also lack accuracy, which can be important when critical dimensions or certain angles are involved.
Wall thickness must be considered during heat staking. Stress can cause thin walls to fail immediately or later when the part is in service. Designers should also be aware that inserts apply force across layers, where the part is weakest. Thin walls mean there are fewer layers of resistance to stress cracking.
Thick walls are generally the designer’s friend, but there can be issues – such as shrinkage – that can result from the longer cooling time of a deeper insert.
Cold (Press-Fit) Inserts // With this method, the insert is pressed into an undersized hole. No heat is required, which makes the process faster and less costly. It also has less long-term strength than a heat-staked insert, and parts can sometimes crack during the process. Cold inserts are best used to develop prototypes and when working with tough, ductile plastics.
Self-Tapping Screws // With this method, screws are inserted directly into the plastic material. This is a low-cost, fast option. But the inserts invariably weaken over time, making this a poor choice for repeated removal of the fastener. It’s best for applications where parts will not be repeatedly assembled and disassembled.
Painting and coating
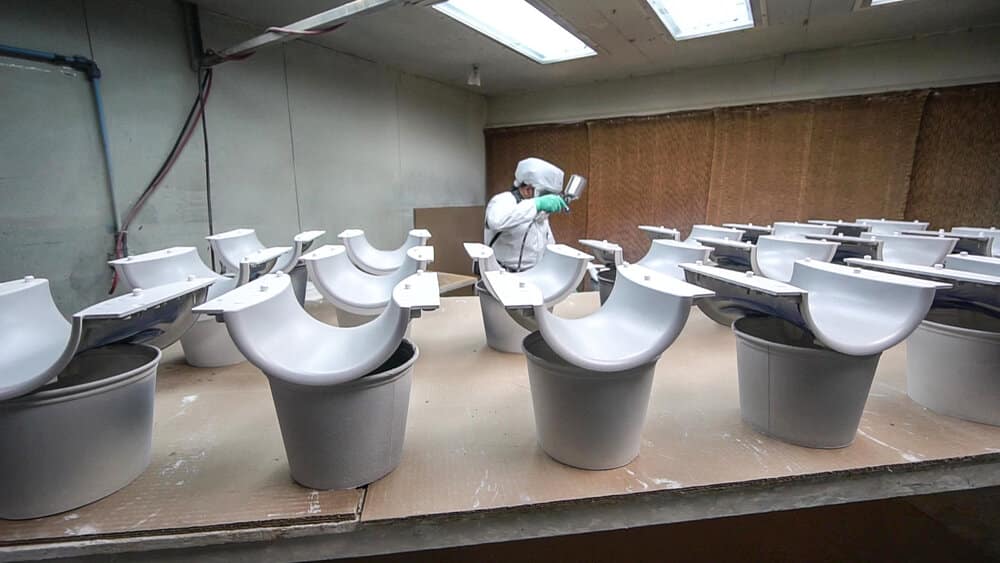
Most 3D-printed parts do not come off the machine with a finished, production-ready surface. Surface roughness, porosity, inconsistent color and layer lines can distract from the design and limit use. Painting/coating improves appearance, protects parts and supports functional needs such as color-coding and chemical resistance.
Spray Painting // This is the most widely used method. It provides uniform color, good surface coverage and is cost-effective. It’s frequently used when appearance matters more than durability – specifically, when the part is a prototype, display model or customer-facing component.
It is inexpensive, fast and scales well from one-offs to small batches. It does, however, require surface preparation, such as sanding or priming. And it is less resistant to abrasion and chemicals than coatings.
Electroless Plating // This finishing method is frequently used on plastic and resin prints to add a thin metal layer. It improves strength, wear resistance and electrical conductivity. It enables plastic parts to perform like metal, but it is more expensive than painting. It also requires chemical processing and preparatory steps.
Clear Coating/Sealing // This method often serves as the final protective layer for a part. It’s used to prevent porosity and provide smooth surfaces and protective finishes. Clear coats can be applied before or after painting to enhance durability and appearance. The process does add thickness to the part. One caution: It’s not a substitute for structural reinforcement.
Define Your Post-Processing Needs Early in the Design Process
Post-processing should be contemplated during the design stage. It also should be a factor when choosing a manufacturing partner. Does it offer all of the finishing processes you require in-house? If not, you’ll need to find a separate facility to complete these steps, which can add unnecessary cost and delays.
The better option is finding a manufacturing partner that not only has deep expertise in additive manufacturing but also a full suite of in-house post-processing capabilities. This can help you to manage costs and production timetables more effectively. It also provides you with one point of communication and accountability.