Fathom Step-By-Step Tutorial—How to Convert a Mesh or Scan Data Into a Workable T-Spline
In this tutorial, Fathom Research Associate, Sebastian Morales, walks you through the process step by step—preparation, gap fixes, mesh export, Quads selection, T-spline body selection and conversion for the purpose of 3D printing a prototype.
Software needed / / Fusion 360, ReMake (formerly Memento)—both available from Autodesk.
Preparation
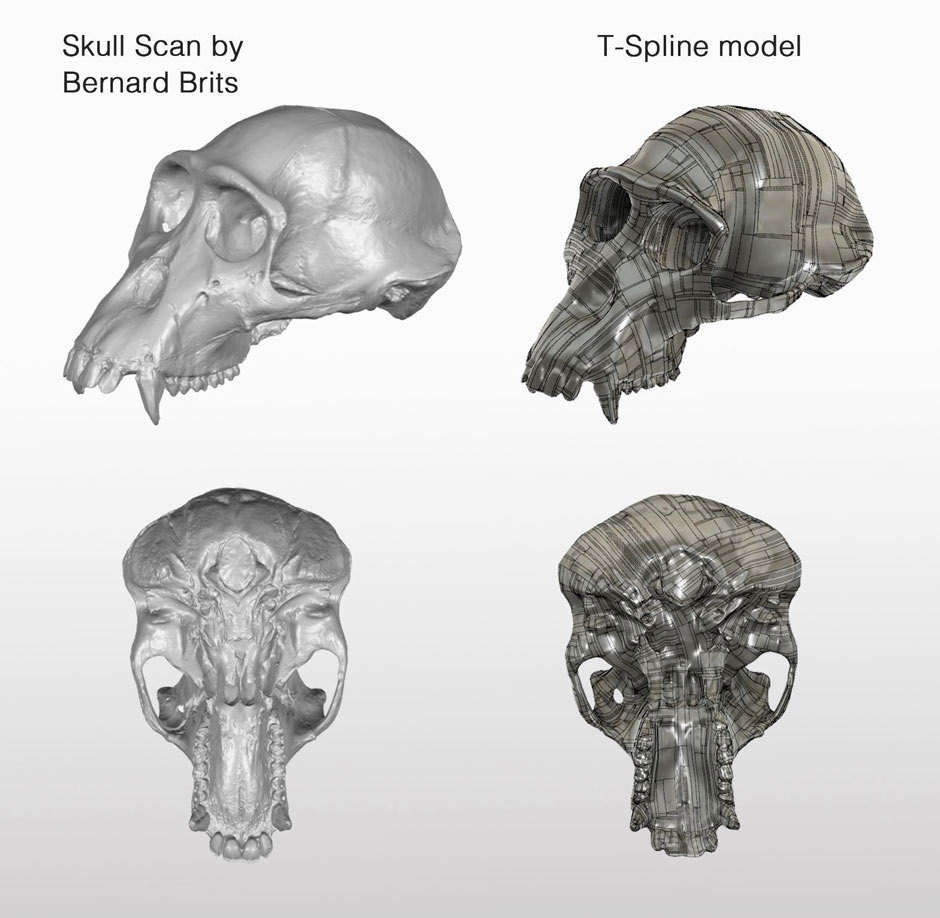
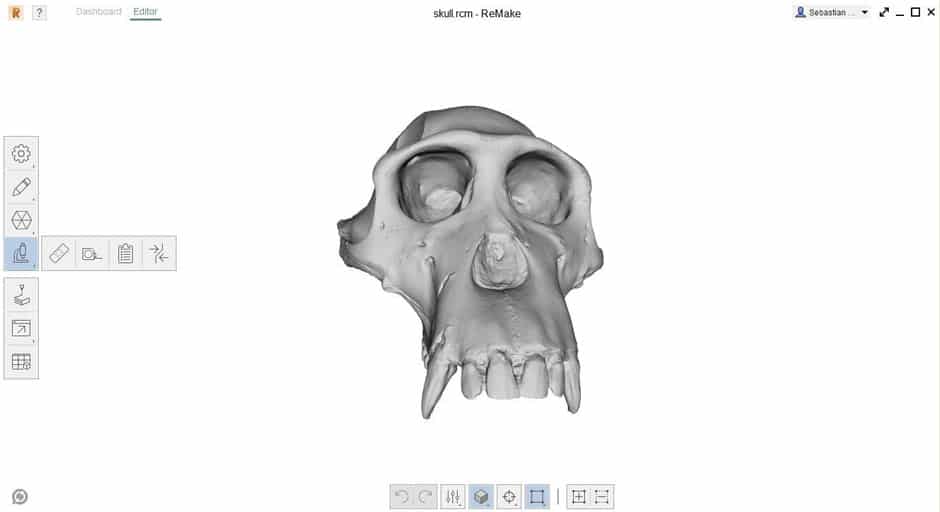
Open ReMake and import your mesh. This example features a mesh of more than two million triangles, a scan by Bernard Brits on GrabCad. We chose something with complex geometries to really test this workflow and this scan has a high degree of intricacy.
Once the mesh finishes converting, get it ready for Fusion 360. The 10-step workflow is as follows.
10-Step Workflow
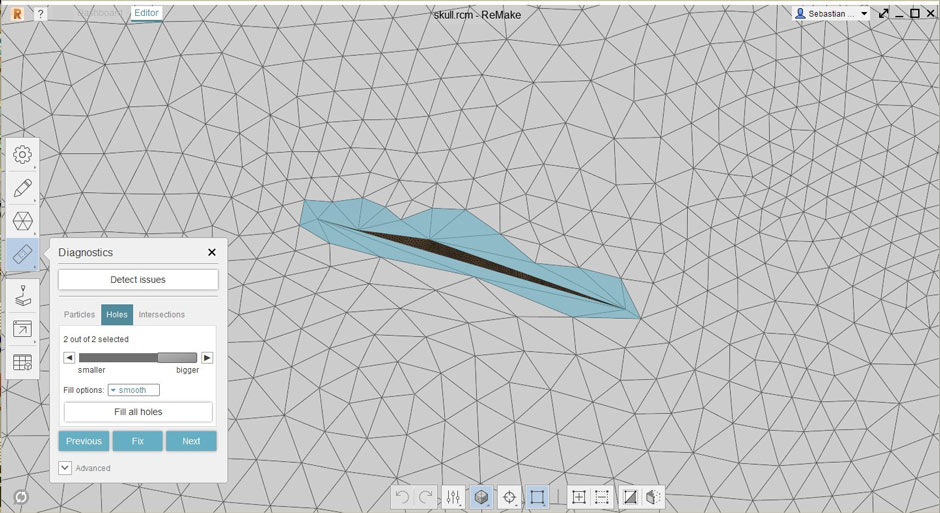
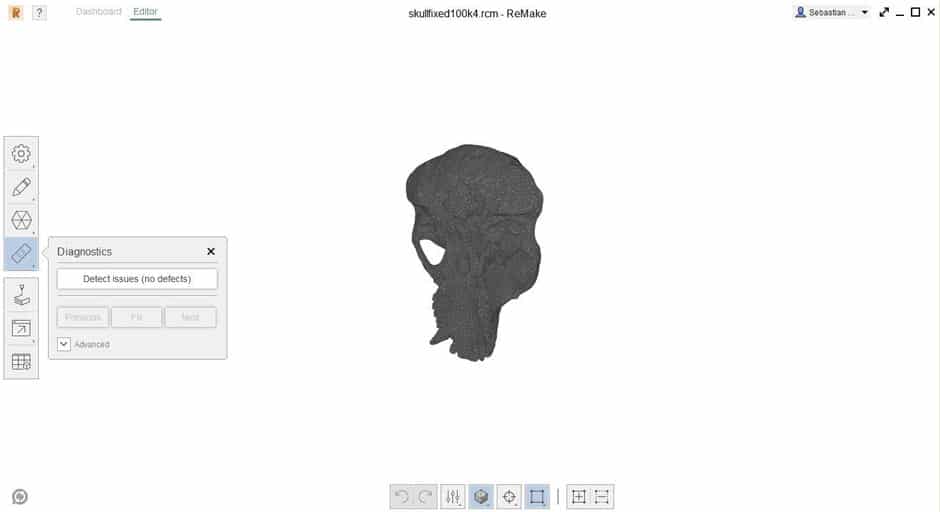
- Fix all the gaps. Click on “Analyze” (the microscope icon) and select the “Detect and Fix Model Issues” (the band aid icon). Detect the issues and fix them all.
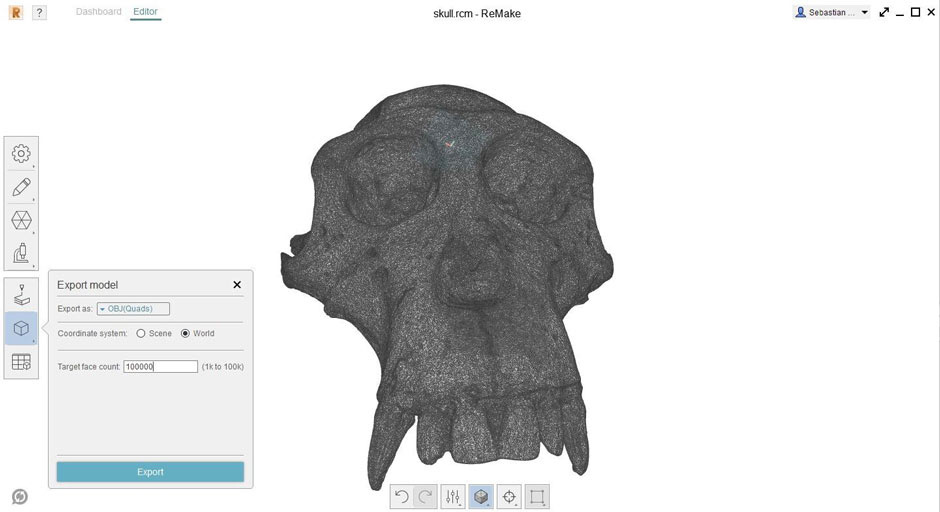
2. Export the mesh.
3. Select “Quads.” Fusion 360 will need the quads in order to make the T-Splines. Select the number of quads depending on your needs, keeping in mind that Fusion will struggle with a higher number. For this project, we selected 100,000.
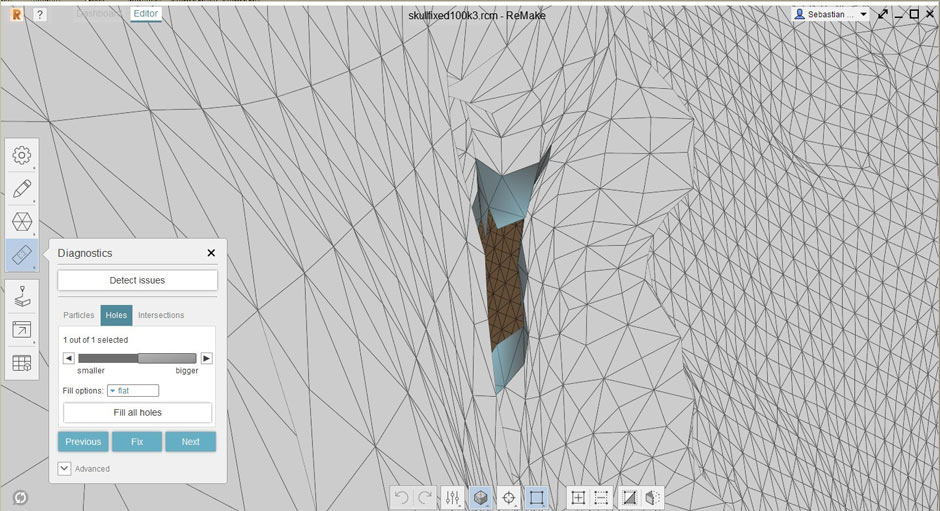
4. Re-import the mesh into ReMake. This time, use the quad-based mesh you just saved. Repeat the issue detection step (#1) and you will likely fund a number of problems with the new mesh. Fix each of the issues you find.
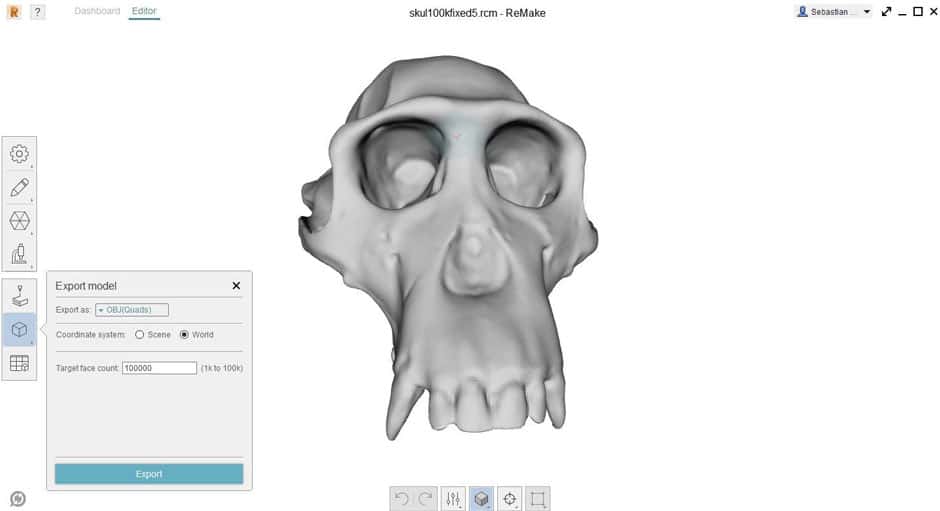
5. Export again. Make sure the mesh is exported as quads.
6. Perform one last analysis on the mesh and fix any issues.
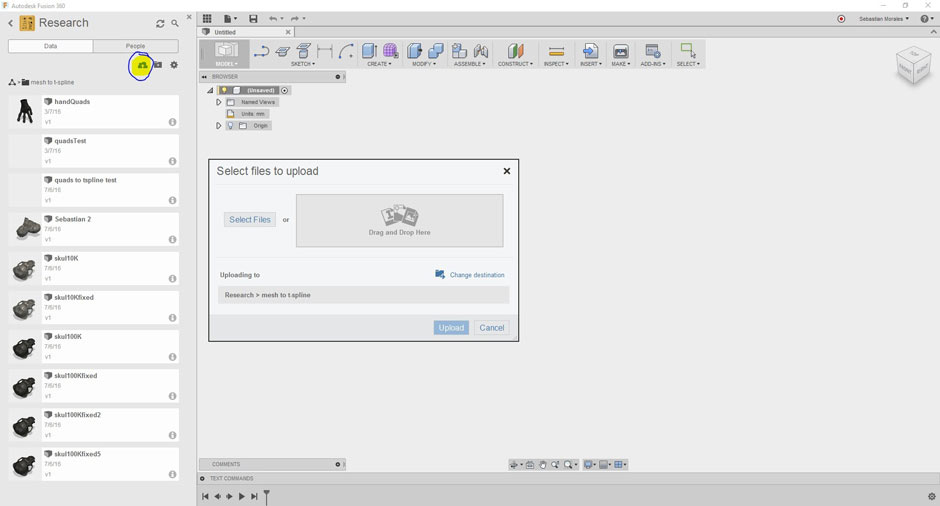
7. Upload your file to the cloud through Fusion 360.

8. Open the drawing and click on Convert from the Utilities on the Sculpting menu.
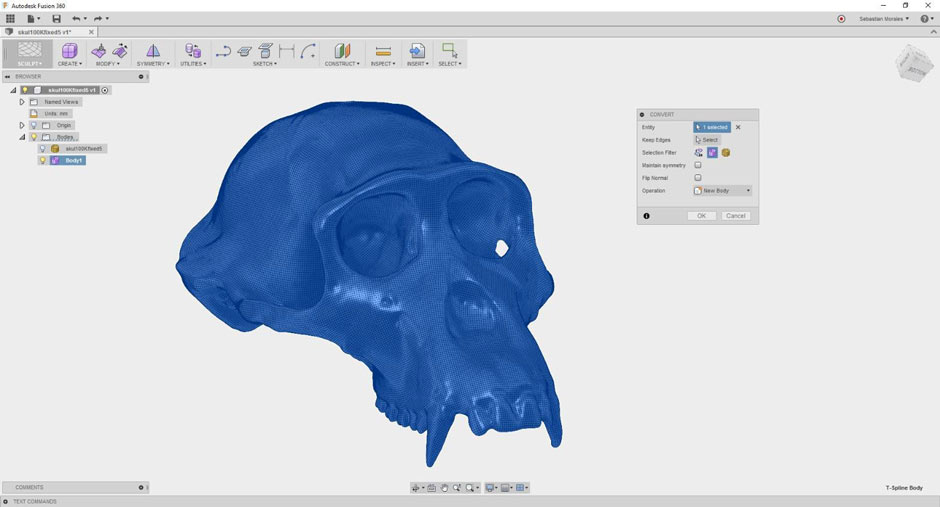
9. Select the Mesh to convert it from a Quad Mesh to a T-Spline body. This may slow Fusion 360 temporarily but eventually will create the T-Spline body. Once it has converted completely, you should have two bodies inside your Bodies folder. One of them a mesh and the other the T-spline body.
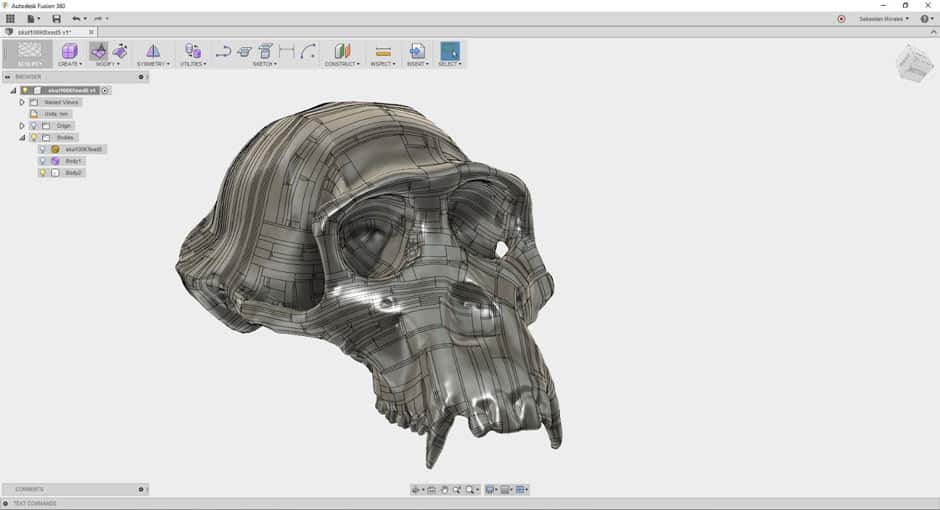
10. Select the T-Spline body and click convert. This conversion will yield a B-rep! After Fusion 360 loads, the entire process is complete.